
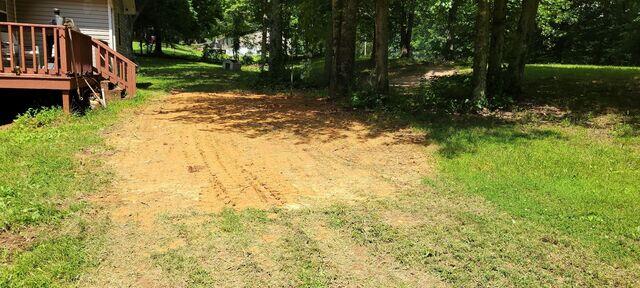
The backyard after we are done with our job
Once the wall anchors were installed, we proceeded to fill and compact the excavated soil.
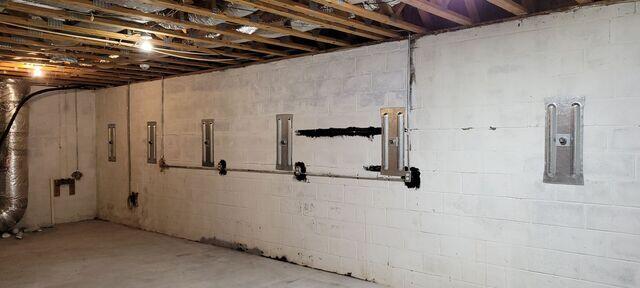
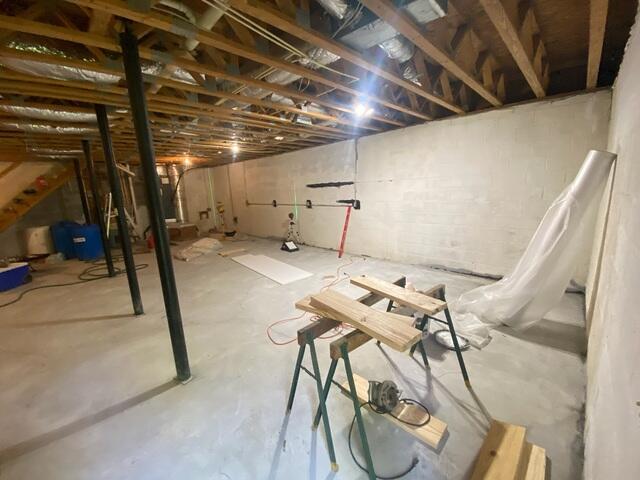
The basement wall once we installed the wall anchors
This method ensures minimal disruption to both the wall and the basement environment.
This was the foundation wall showing some cracks
Frequently, the initial indication of damage manifests as parallel cracks on the foundation wall.
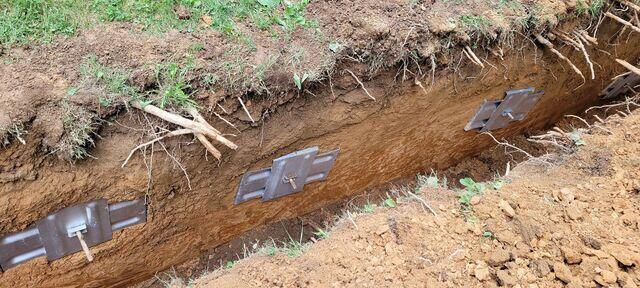
A close up of the Geo Locks anchoring the outside soil
After excavating the trench, the anchors will be installed to secure the foundation wall by forming a "sandwich" structure between the wall and the outer anchors.
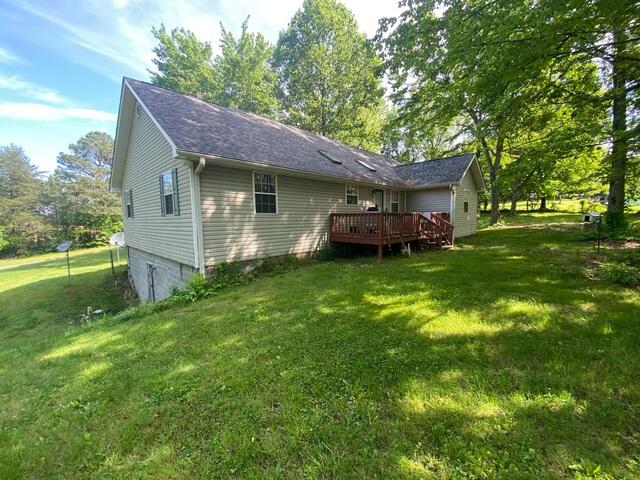
The backyard before we started digging.
Here is a depiction of the backyard prior to commencing the excavation process.